Bumper covers are usually made up of fiberglass and plastic. They suffer the brunt of all the abuse that your car suffers. Due to this these auto body parts are usually dinged or damaged. If you see that your bumper cover has big cracks or is severely damaged in other ways you would have to obviously replace it.
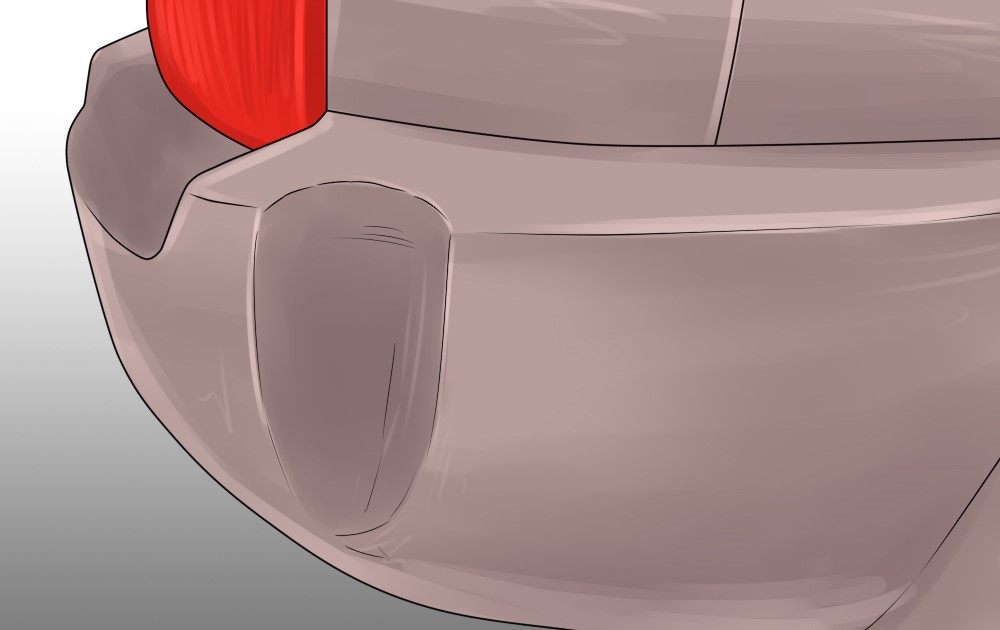
But if the auto part has scratches or dents then you are better off with making repairs yourself. This goes for your front bumper cover and the rear one as well. This is a much better option than replacing it altogether as this is more cost efficient. While making minor repairs to your bumper cover isn’t a hard job it may become a bit time-consuming.
Here is a list of tools and things you need to repair your bumper covers:
- Sandpaper (Different Grit Sizes)
- Plastic Squeegee
- Body Filler
- Wax
- Grease Remover
- Masking Tape
- Primer
- Paint
All the products here are pretty easy to get a hold of. You can easily find them online or your local hardware store. If you are big into DIY repairs then you might already have a lot of these items if not all. Once you have everything together you are ready for the next step, which is the actual repair itself.
The Steps To Fixing Your Bumper Cover

- First, you need to get 120 grit sandpaper. Sand the area till its completely smoothed out. If there are dents in the car smooth it out as well. Make sure you smooth out the inside and the edges.
- Now you need to use the filler and the squeegee. Use the squeegee to put filler all over the damaged area. Make sure that you use sufficient filler and that it reaches all the parts that need it. The filler needs to go inside and all over the surrounding area for maximum output. After you apply the filler let it rest for an hour or so.
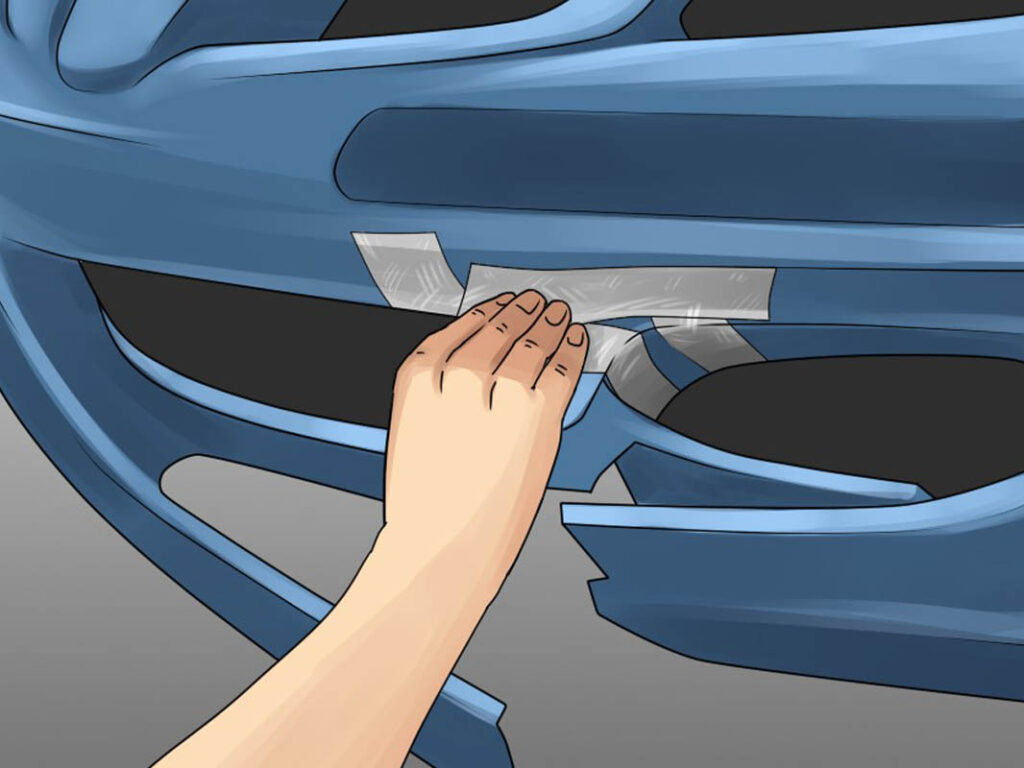
- After the filler has dried, use a 120 grit sandpaper to smooth the surfaces out. Until it completely levels and mixes with the surroundings. After that, you need to use a 220 grit sandpaper to make all the rough edges disappear which were created by the 120 grit sandpaper. Once you are done with the sanding apply and wipe the surface with wax and grease remover. Finally, cover the area using masking tape and paper.
- You need to spray the area with the primer. Make sure you apply 7-8 inches from the center of the area with a left to right motion. You need to leave the primer to dry for thirty minutes. After that once again sand the area with 220 grit sandpaper. Then repeat the wax and grease removal process.
- The last step of the process is applying paint. First, apply three to four coats of color around the damaged area in a left to right motion.
This needs to cover 7-8 inches on the sides from the center area in each left to right motion. Then let it dry for ten minutes and repeat theprocess with clear paint and you are done. You need to let the paint dry for a full day or so before you can use it though.

So now you know the simple and easy steps to repairing your bumper cover. Fixing this auto part is something you should know. The amount of money you will save from not going to the garage should be motivation enough for you. But make sure you do not attempt repairing when the damage is extensive. You can find great auto parts online for a cheap price so that time you should use those services to completely replace the bumper cover.


